The Ultimate Guide to Mac Screenshot Processor: Capture, Edit, and Share with Ease
In today's digital age, taking screenshots is an essential skill for anyone who uses a Mac. Whether you're a student, a professional, or a hobbyist, capturing images or videos of your screen can be a game-changer. In this comprehensive guide, we'll walk you through the process of taking screenshots on a Mac, editing and annotating them, and sharing them with others. We'll also explore the various methods available for capturing screenshots, from keyboard shortcuts to third-party apps.
Why Take Screenshots on a Mac?
- To capture and save important information, such as error messages or login credentials
- To create tutorials or guides for software applications or websites
- To share images or videos with friends, family, or colleagues
- To document software issues or bugs for troubleshooting purposes
The Basics: Taking Screenshots on a Mac
The most basic way to take a screenshot on a Mac is by using the keyboard shortcut Command (⌘) + Shift (⇧) + 3. This will capture the entire screen, including the menu bar. To capture a specific window or area, use Command (⌘) + Shift (⇧) + 4. A crosshair cursor will appear, allowing you to select the area you want to capture.
Mac Screenshot Processor: Built-in Tools

Keyboard shortcuts are the quickest way to take screenshots on a Mac. Here are some common shortcuts:
- Command (⌘) + Shift (⇧) + 3: Capture the entire screen
- Command (⌘) + Shift (⇧) + 4: Capture a specific window or area
- Command (⌘) + Shift (⇧) + 4 + Space: Capture a screenshot of a window
- Command (⌘) + Shift (⇧) + 5: Open the Screenshot app
Editing and Annotating Screenshots
Once you've taken a screenshot, you can edit and annotate it using the Preview app. With Preview, you can:
- Rotate or flip the screenshot
- Trim the screenshot to remove unnecessary parts
- Add text or shapes to highlight important information
- Save the screenshot as an image or PDF
Sharing screenshots is easy on a Mac. You can:
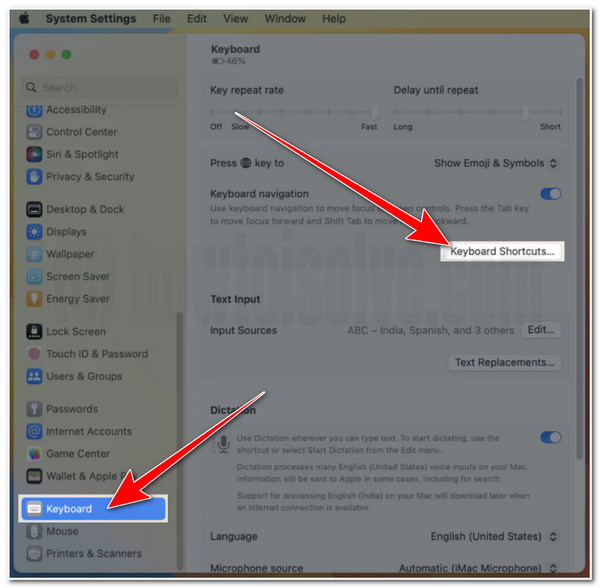
Moving forward, it's essential to keep these visual contexts in mind when discussing Mac Screenshot Processor.
- Save the screenshot to your desktop or documents folder
- Share the screenshot via email or messaging apps
- Upload the screenshot to cloud storage services like iCloud or Google Drive
Third-Party Screenshot Apps
Conclusion
Taking screenshots on a Mac is a simple yet powerful way to capture exactly what's on your screen. Whether you're a student, a professional, or a hobbyist, our guide has shown you the various methods available for capturing screenshots, from keyboard shortcuts to third-party apps. We've also explored the built-in Screenshot app and how to edit and annotate screenshots using the Preview app. With this comprehensive guide, you'll be able to take screenshots with ease and share them with others in no time.
Frequently Asked Questions
Q: How do I take a screenshot on a Mac?
A: You can take a screenshot on a Mac by using the keyboard shortcut Command (⌘) + Shift (⇧) + 3 or by opening the Screenshot app.

A: The Screenshot app is a built-in tool on Mac that provides a panel of tools for taking screenshots and screen recordings.
Q: How do I edit and annotate a screenshot on a Mac?
A: You can edit and annotate a screenshot on a Mac using the Preview app.
Q: How do I share a screenshot on a Mac?
A: You can share a screenshot on a Mac by saving it to your desktop or documents folder, sharing it via email or messaging apps, or uploading it to cloud storage services like iCloud or Google Drive.
For more information on taking screenshots on a Mac, check out these additional resources:


 - MacHow2")

