Fridge-Free Homemade Pasta Techniques: Pasta Made with Love, No Machine Needed
Making fresh pasta at home is one of the most fulfilling culinary adventures you can pursue—especially when you skip the modern pastamachine. The truth is, you don’t need expensive tools to roll out silky, elastic dough that tastes better than store-bought any day. In this guide, we dive into **fridge-free homemade pasta techniques** that prove wonderful pasta starts with rustic simplicity and the purest ingredients: just flour, eggs, and your hands. Whether you want tagliatelles, ravioli, or any classic shape, this post reveals how to make rich, homemade pasta right in your kitchen—no fridge, no timer—just patience and practice. Traditional pasta-making is an ancient craft, passed down through generations. What makes **fridge-free homemade pasta techniques** so special? First, it reconnects you with the roots of cooking—where food was made slowly, with care. Without relying on appliances, you reduce time and clutter, emphasizing rhythm and consistency over precision equipment. Plus, using just a few high-quality ingredients means every bite carries authenticity and flavor that columnized pasta simply can’t match. Unlike commercial pasta production, which often uses preservatives and high-tech rollers, homemade pasta lets you control every step. From choosing the flour to kneading and rolling, you shape something entirely your own—without waiting hours.Basic Ingredients for Perfect Fraiche Pasta
This particular example perfectly highlights why Fbridge-Free Homemade Pasta Techniques is so captivating.
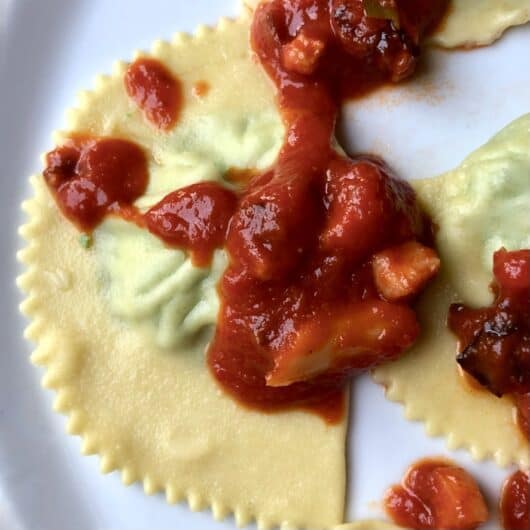
Making pasta from scratch starts simple. You need only two key ingredients: - High-quality all-purpose or "00" flour (pastry or bread flour works well too) - Fresh, farm-fresh eggs (room temperature is ideal) Some recipes explore ancient grains or rustic blends, but for the purest taste, two ingredients remain timeless. This minimal approach fuels **fridge-free homemade pasta techniques**, proving that less truly is more when it comes to premium results. Step 1: Prepare your werkzeug – You’ll need a large clean counter, a light dusting of semolina or flour, and crucially, a rolling pin or pasta book. Set everything up comfortably. Step 2: Make the dough. Combine flour and a small bowl of egg. Begin gently mixing until a soft shaggy mass forms. Use your hands to incorporate more flour until the dough becomes smooth, supple, and slightly elastic—this is the foundation of your pasta’s tender bite. Kubera, the ancient cooking wisdom lives here—don’t overwork it. Step 3: Rare and rested dough (optional): Let the dough rest covered with a damp cloth for 20–30 minutes. This relaxes gluten, making rolling easier and less break-prone. Step 4: Roll with love. Place the dough on a gently floured surface. Roll into a very thin rectangle using even, steady pressure—aim for about 1mm thick. If your counter or pin fits, slide the pasta through like a crêpe maker. Repeat until a long sheet forms. Step 5: Cut your shapes. With a sharp knife or pasta cutter, slice into desired noodles or ribbons—pappardelle, orecchiette, or tortellini, all within this same smooth sheet. Step 6: Dry and cook or serve fresh. Let thin cuts air-dry for 10–15 minutes before cooking in boiling salted water for 1–3 minutes, depending on thickness. Vegetables, ragùs, or simple mint-burrata pair beautifully. This entire process stays **fridge-free** except during that brief drying pause—no cold appliances required.Breathe Life Into Classic Shapes with Ease


")


 - recipesofhome.com")


 - The Modern Nonna")