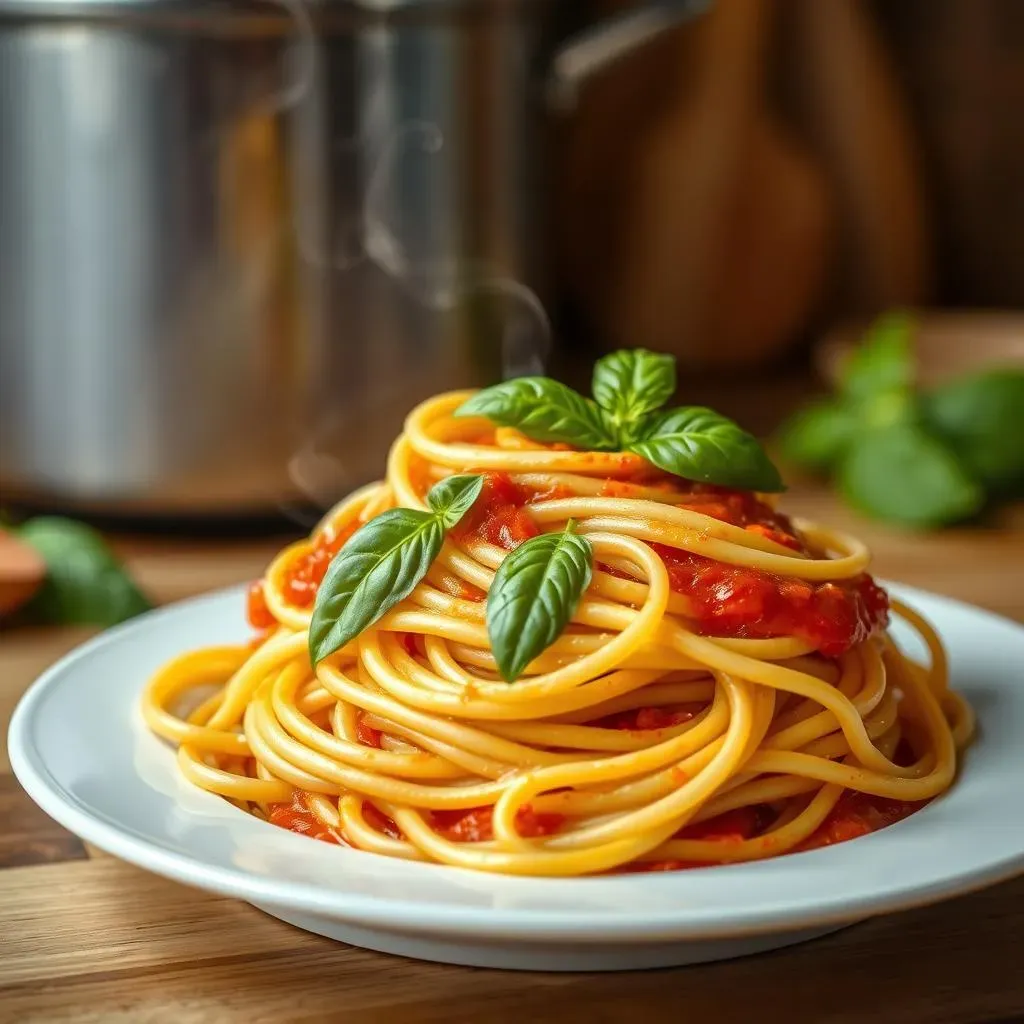
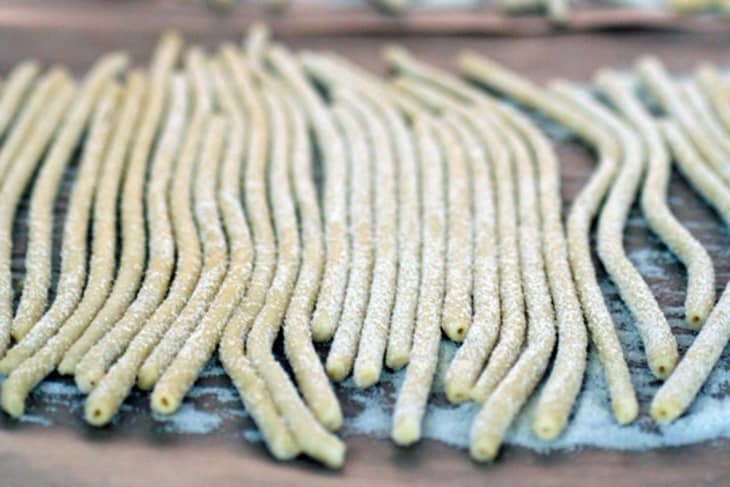
How to shape homemade pasta like a pro Pasta is a kitchen staple loved around the world, and there’s nothing quite like creating your own at home—especially when you shape each piece with care. But mastering the perfect pasta shape can feel challenging if you’ve never used a machine or struggled with consistency. The good news? You don’t need any fancy tools. With a little patience and the right techniques, shaping homemade pasta can become second nature—and truly satisfying. This guide breaks down how to shape homemade pasta like a pro, using only basic kitchen tools and no high-tech pasta machines. Whether you’re making delicate farfalle, crispy tortellini, or hearty rigatoni, we’ll walk you through simple, reliable steps designed to elevate your pasta game from beginner to professional. Understanding dough first helps you shape better Before diving into shaping, it’s essential to understand your pasta dough. Homemade pasta dough typically combines flour and eggs (sometimes a touch of water) and kneaded until smooth and elastic. The texture determines how easily it rolls and holds its form. For the best results, aim for something firm enough to hold shape but not too dry. Adjusting baking soda or water slightly during kneading helps perfect consistency—important for consistent shaping every time. Tools and prep: what you need to shape by hand To shape pasta like a pro, start with a clean, lightly floured surface or a floured pasta mat. Place a portion of dough on your workbench and cover it with a damp towel to prevent sticking. Essential tools include a rolling pin (or a rolling board, even a book works in a pinch), kitchen shears or a sharp knife, and your hands. Optionally, use a fork or pin to create texture or indentations—great for ravioli or filled pastas. Step-by-step: how to shape homemade pasta like a pro Begin with a square or rectangle of dough about the size of a standard playing card—this makes rolling easier. Use your rolling pin to gently flatten it into a thin, even sheet. Aim for 1/16-inch thickness to keep cook times consistent and prevent cracking. If using your hands, die-cut skewered dough using cookie cutters or kitchen shears for uniform pieces. For tube-shaped pastas like fusilli or trofie, roll dough into thin ropes, then gently pinch ends to close. For flat shapes like fettuccine or tagliatelle, roll thin sheets and use a knife or pasta shears to cut even ribbons—precision here defines professional results. Techniques for different pasta shapes: master the essentials Let’s explore a few classic shapes and how to execute them like a professional: **Farfalle (bowtie pasta):** Roll dough into long, thin ribbons. Cut into diamond shapes fan-shaped on both sides. To close the bowtie, pinch the median vein gently—no rolling pin needed here; just shape with fingertips. Crumple edges slightly before cooking to add character. **Pappardelle:** Use wider ribbons—around 1 inch thick. Roll thin but even sheets, cut into 2-inch strips, and gently fold edges inward to help them hold shape during boiling. **Ravioli:** With filling inside, release dough squares, add filling, then fold over sheet, crimp edges with fingers or a fork to seal securely. Use a fork with evenly spaced teeth to press a decorative rim if desired. **Gnocchetti (potato dumplings):** Although often considered “machine-made,” hand-rolled gnocchetti benefit from pressing dough through a square sieve, rolling gently between fingers to form soft, uniform orbs. **Rigatoni and Penne:** Roll or twist stiff dough into cylindrical shapes. Fibers or twists along the surface create visual interest and improve cooking texture. Use a pasta board edge to even out ridges. Avoiding common mistakes Even pros started somewhere—avoid these pitfalls. Sticky dough? Keep a damp cloth nearby and flour sparingly to prevent clumping. Uneven thickness? Practice even rolling pressure, and rotate dough often. Sticking pastas? Always dust hands and work surface lightly—gluten-free or bean-based pastas can be stickier, so extra care pays off. Tools beyond the basics While a rolling pin is essential, tools like a fork ridger, vegetable peeler for stripping edges, and even a pizza cutter for precise cuts add finesse. A fork tartine (mired dough cutter) makes crispy strips like chow mein noodles, while fresh basil leaves pressed down while forming ravioli enhance both shape and flavor. Storage tips to keep pasta fresh Once shaped, let fresh pasta rest covered with a damp towel for up to 12 hours. Avoid direct contact with surfaces—wrapping lightly in parchment works well. Store shaped pasta in sealed containers, sprinkled with a light dusting of flour to prevent sticking. For longer storage, freeze individual shells or strips on a baking sheet, then transfer to airtight bags—defrost gently by boiling, as freezing alters texture slightly. Why learning to shape pasta like a pro matters Shaping homemade pasta isn’t just about looks—it’s about control. Handcrafted pasta cooks faster, holds sauce better, and tastes richer because you shaped it with intention. Whether you’re making a simple spaghetti dinner or an elaborate feast, the right shape ensures each bite shines. Practice makes perfect, and every bowl becomes a personal art form. So, skip the store-bought sampleness and embrace your inner chef—how to shape homemade pasta like a pro isn’t a secret, just a few mindful steps. Start with farfalle or ravioli, adjust your pressure, and watch your kitchen transform from casual prep to professional craft. With patience, the right tools, and these pro techniques, homemade pasta will become not just food—but expression. Begin today, and savor the crunch, color, and care in every perfectly shaped strand.
Moving forward, it's essential to keep these visual contexts in mind when discussing How To Shape Homemade Pasta Like A Pro.
/How-To-Pasta-Like-A-Pro-VT-2-MAG0122-c07f1e746d02441284b78978ab89a3d0.jpg "How to Roll & Shape Pasta Dough | Tagliatelle, Ravioli, and More")


