Setting Up Printer on Windows 7: A Step-by-Step Guide
Method 1: Installing a Printer via Wireless Connection
Before you start, make sure that your printer is turned on and has paper and ink/toner loaded. If you're using a wireless printer, make sure it's connected to your Wi-Fi network.
First, go to the Settings app on your Windows 7 device and select "Wireless Networks" or "Networks and Sharing Center." Click on "Setup a new network" and follow the on-screen instructions to connect to your Wi-Fi network.
Method 2: Installing a Printer via USB Connection
If your printer doesn't have a wireless connection, you can connect it to your Windows 7 device using a USB cable. This method is a bit more complicated, but it's still easy to set up.
Before you start, make sure that your printer is turned off. Connect the USB cable to the printer and the Windows device. Turn on the printer and let it install drivers.
Step 1: Connect the Printer to Your Windows Device
Step 2: Install the Printer Driver

This particular example perfectly highlights why Setting Up Printer On Windows 7 is so captivating.
Follow the on-screen instructions to install the printer driver. You may need to insert the printer's setup CD or download the driver from the manufacturer's website.
Method 3: Installing a Printer via Network Connection
Setting up a network printer in Windows 7 may seem like a complicated process, but it's actually quite simple if you follow the proper steps. In this method, you'll share the printer from one computer and print from another computer on the same network.
Step 1: Share the Printer
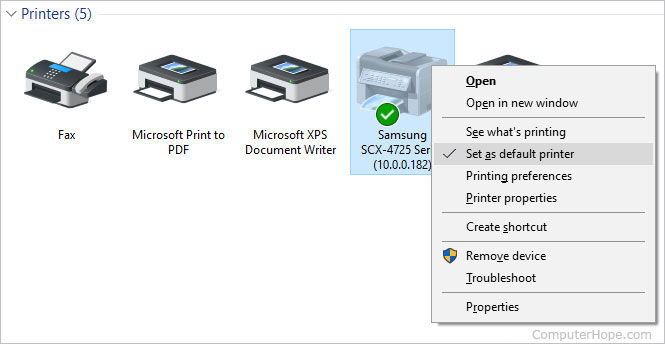
Open the Devices and Printers window by clicking on the Start button and selecting "Devices and Printers." Look for the printer you want to share and right-click on it to select "Properties." Go to the "Sharing" tab and select the "Share this printer" option.
Method 4: Installing a Printer via Bluetooth Connection
Pairing a Bluetooth printer or scanner is a relatively straightforward process. Before you start, make sure that your Bluetooth printer or scanner is turned on and has a clear line of sight to the Windows device.
Step 1: Connect the Printer to Your Bluetooth Device
As we can see from the illustration, Setting Up Printer On Windows 7 has many fascinating aspects to explore.
Step 2: Pair the Printer with the Windows Device
On the Bluetooth printer or scanner, press the pair button to make it discoverable. On the Windows device, go to the "Devices and Printers" window and select the option to add a new device. Follow the on-screen instructions to pair the printer with the Windows device.
Setting up a printer on a Windows 7 network can seem like a daunting task, but with these simple methods, you can do it easily. Whether you're connecting a wireless printer, a USB printer, or a network printer, following these steps will help you get your printer up and running in no time. Remember to install the printer driver and pair the printer with your Windows device to complete the setup process.
Common Issues and Solutions
Some common issues that may arise when setting up a printer on a Windows 7 network include:
You can resolve these issues by following the troubleshooting steps below:
Tips and Tricks
- Use a stable and reliable network connection to avoid connectivity issues.
- Make sure the printer driver is compatible with your Windows device and printer model.
- Use a USB cable to connect the printer to the Windows device if you're having trouble with the wireless connection.
By following these simple methods and tips, you can set up your printer on a Windows 7 network quickly and easily. Whether you're a beginner or an experienced user, this guide will help you get your printer up and running in no time.


")


