Starting a Twitch Stream Setup: A Beginner's Guide
Are you ready to take the leap and start your Twitch streaming journey? With millions of active users, Twitch has become a popular platform for gamers and non-gamers alike to connect with like-minded individuals and share their passion for streaming. In this article, we'll guide you through the process of starting a Twitch stream setup, from creating an account to going live and beyond.
Step 1: Creating Your Twitch Account
The first step to starting a Twitch stream setup is to create a Twitch account. Visit the Twitch website and sign up for a new account. Fill in the required information, and agree to the terms of service. Once you've created your account, you'll need to link it to your social media accounts and add a profile picture and banner.
Step 2: Choosing Your Equipment
When it comes to equipment, you don't need to break the bank. In fact, with the rise of USB streaming devices and software, you can start streaming with minimal investment. Here are some essential items you'll need to get started:
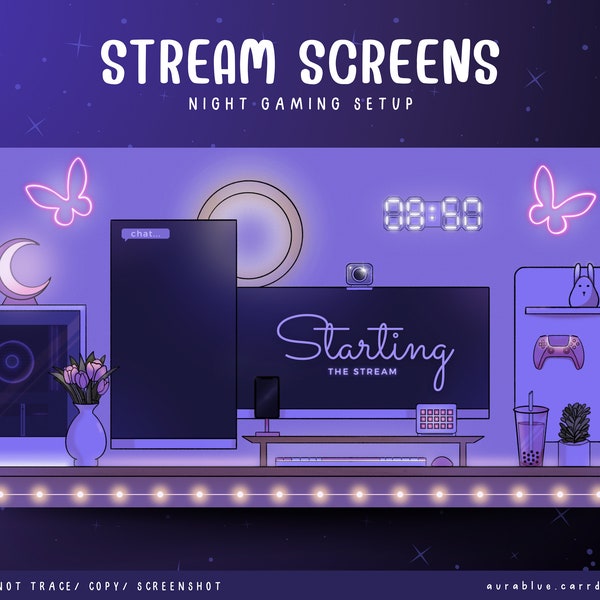
Moving forward, it's essential to keep these visual contexts in mind when discussing Starting A Twitch Stream Setup.
-
Camera: A decent webcam or a camera with HDMI output will do the job. Some popular options include the Logitech C920, Razer Kiyo, or the Elgato Cam Link 4K.
-
Microphone: A quality microphone is essential for clear and crisp audio. You can opt for a USB microphone like the Blue Yeti or the HyperX QuadCast Gaming Microphone.
-
Capture Card: If you plan to stream console games, you'll need a capture card to connect your console to your computer. The Elgato HD60 and the AVerMedia Extremecap are popular options.
-
Lighting: Proper lighting is crucial for a well-lit stream. Invest in a good lighting kit or use natural light to illuminate your face and playspace.
-
Internet Connection: A stable internet connection is vital for smooth streaming. Ensure your internet speed is at least 5 Mbps for 1080p and 10 Mbps for 4K.
Open Broadcasting Software (OBS) is a free and open-source software that's widely used by streamers. To set up OBS, follow these steps:
-
Download and install OBS from the official website.
-
Launch OBS and set up a new scene by clicking on the "Settings" button and then "Scene Settings".
-
Configure your video and audio sources, such as your camera and microphone.
-
Set up your stream settings, including the bitrate, resolution, and frame rate.
-
Customize your stream with themes, overlays, and alert settings.
Step 4: Going Live on Twitch
Once you've set up your equipment and OBS, it's time to go live on Twitch. To do this, follow these steps:
Such details provide a deeper understanding and appreciation for Starting A Twitch Stream Setup.
-
Sign in to your Twitch account and click on the "Stream" button.
-
Configure your stream settings, including the title, description, and tags.
-
Choose your stream quality and bitrate.
-
Click on the "Go Live" button to start your stream.
Starting a Twitch stream setup requires patience, persistence, and practice. Here are some tips to help you succeed:
Conclusion
Starting a Twitch stream setup may seem daunting, but with this beginner's guide, you're well on your way to creating a successful and engaging stream. Remember to choose the right equipment, set up OBS, and optimize your stream settings for a smooth and high-quality streaming experience. With persistence and practice, you'll attract and retain viewers, and become a successful Twitch streamer in no time.
For more information on starting a Twitch stream setup, visit the Twitch Inspector Glossary and Twitch Stream Key FAQ. Additionally, check out the Following informational resources:
With this guide, you're ready to embark on your Twitch streaming journey and start building a loyal community. Remember to be patient, persistent, and always be open to learning and improving your stream setup.


 - Go Live ...")


:max_bytes(150000):strip_icc()/A4-StreamonTwitch-annotated-2a5e5dbe5b864c71949ff2c7c21eb299.jpg "Your First Stream: The Ultimate Setup Checklist - NextGenStreamer")


 - Viewbotter")


")
